
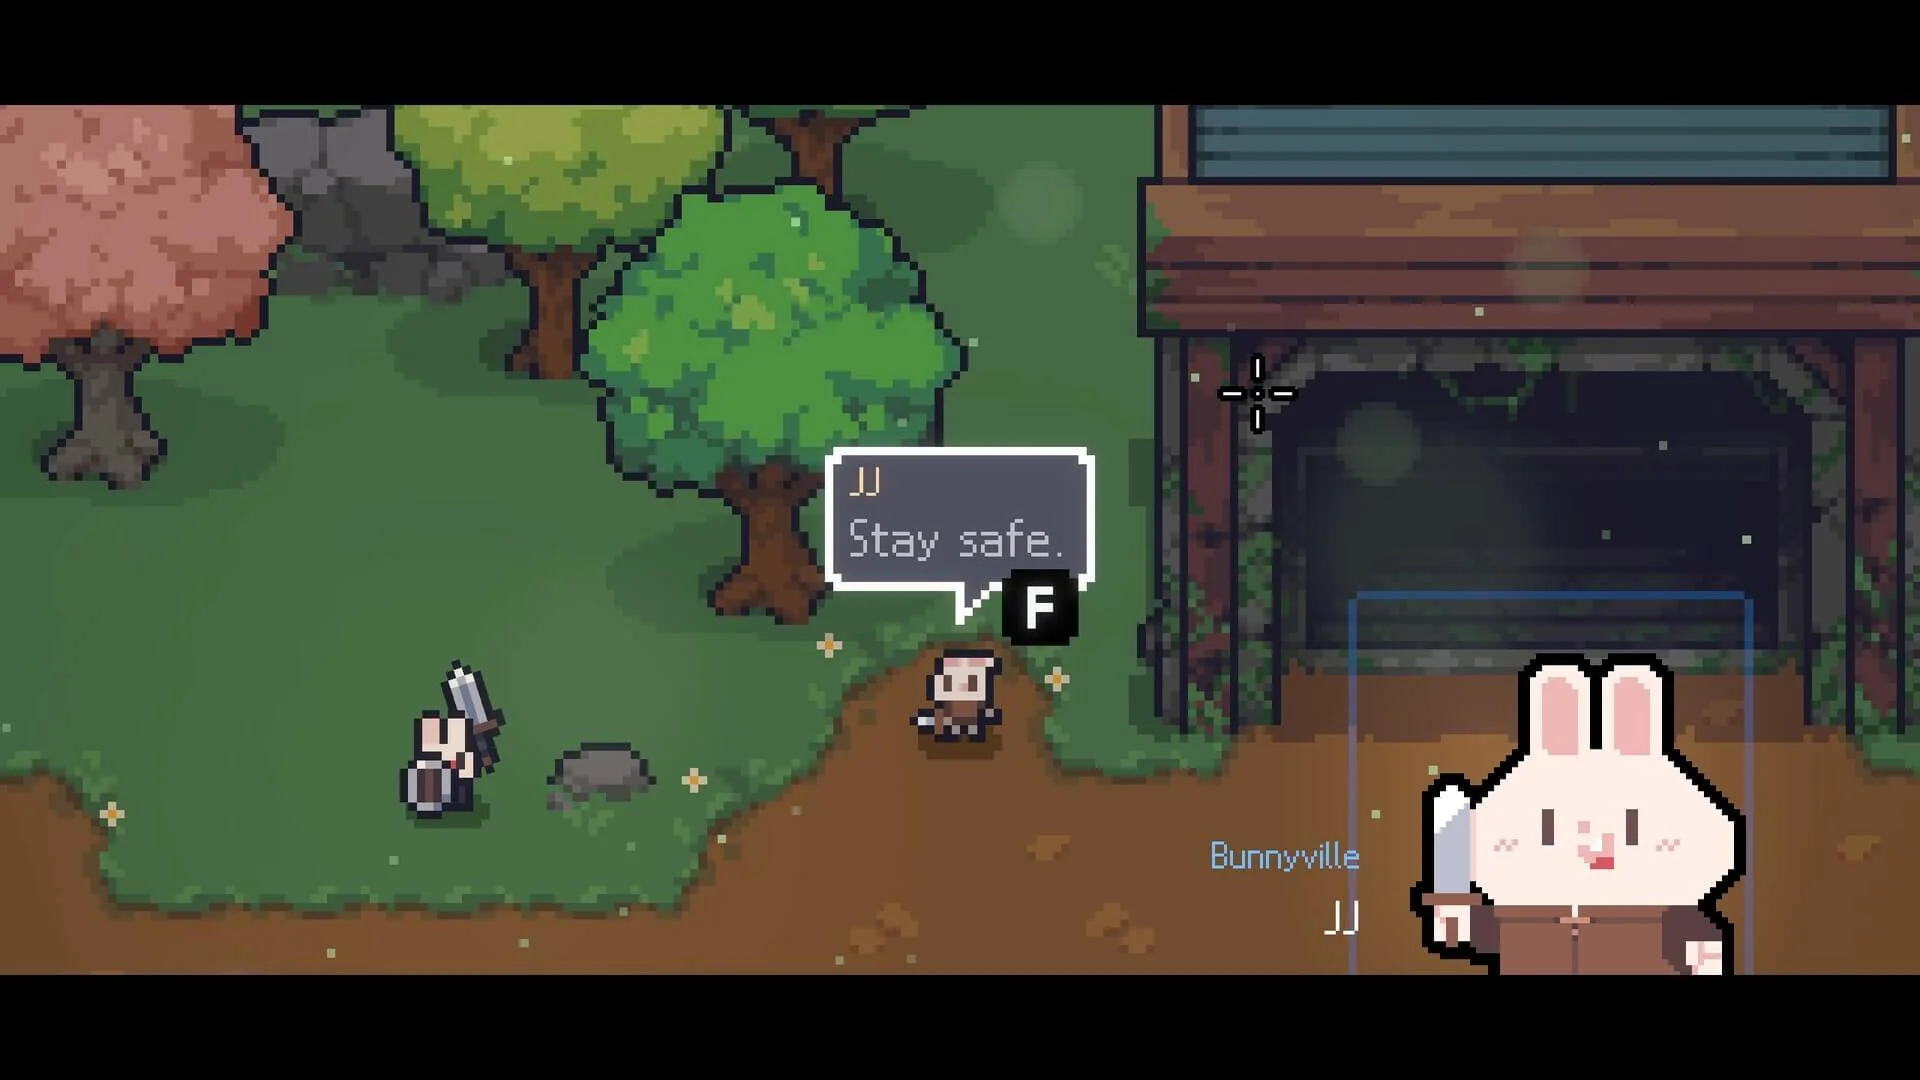
01Unlock Run History and find the menu
Start in Destiny Inscription and check the prerequisite shown for Run History on your save. After unlocking it, open the board in the village when you are between runs. If you are already playing, try the pause menu first so you can check a past build without leaving the current run.
If neither entry point appears, check your Steam game version and whether the inscription unlock is active. Run History debuted in the 1.1.0 beta and reached the default public branch with 1.1.3. On Steam, use the Default Public Version. The old workshop-beta branch was retired when the update went public.
When checking whether the unlock worked, open the board or pause menu first. If the history opens but has no useful record, finish a run after unlocking and check again. Save any result you want to keep long term because the game keeps a rolling list of 100 runs.
TEAM HORAY · 1.1.0 Beta UpdateTEAM HORAY · 1.1.3 Update
02Read the inventory, stats and result together
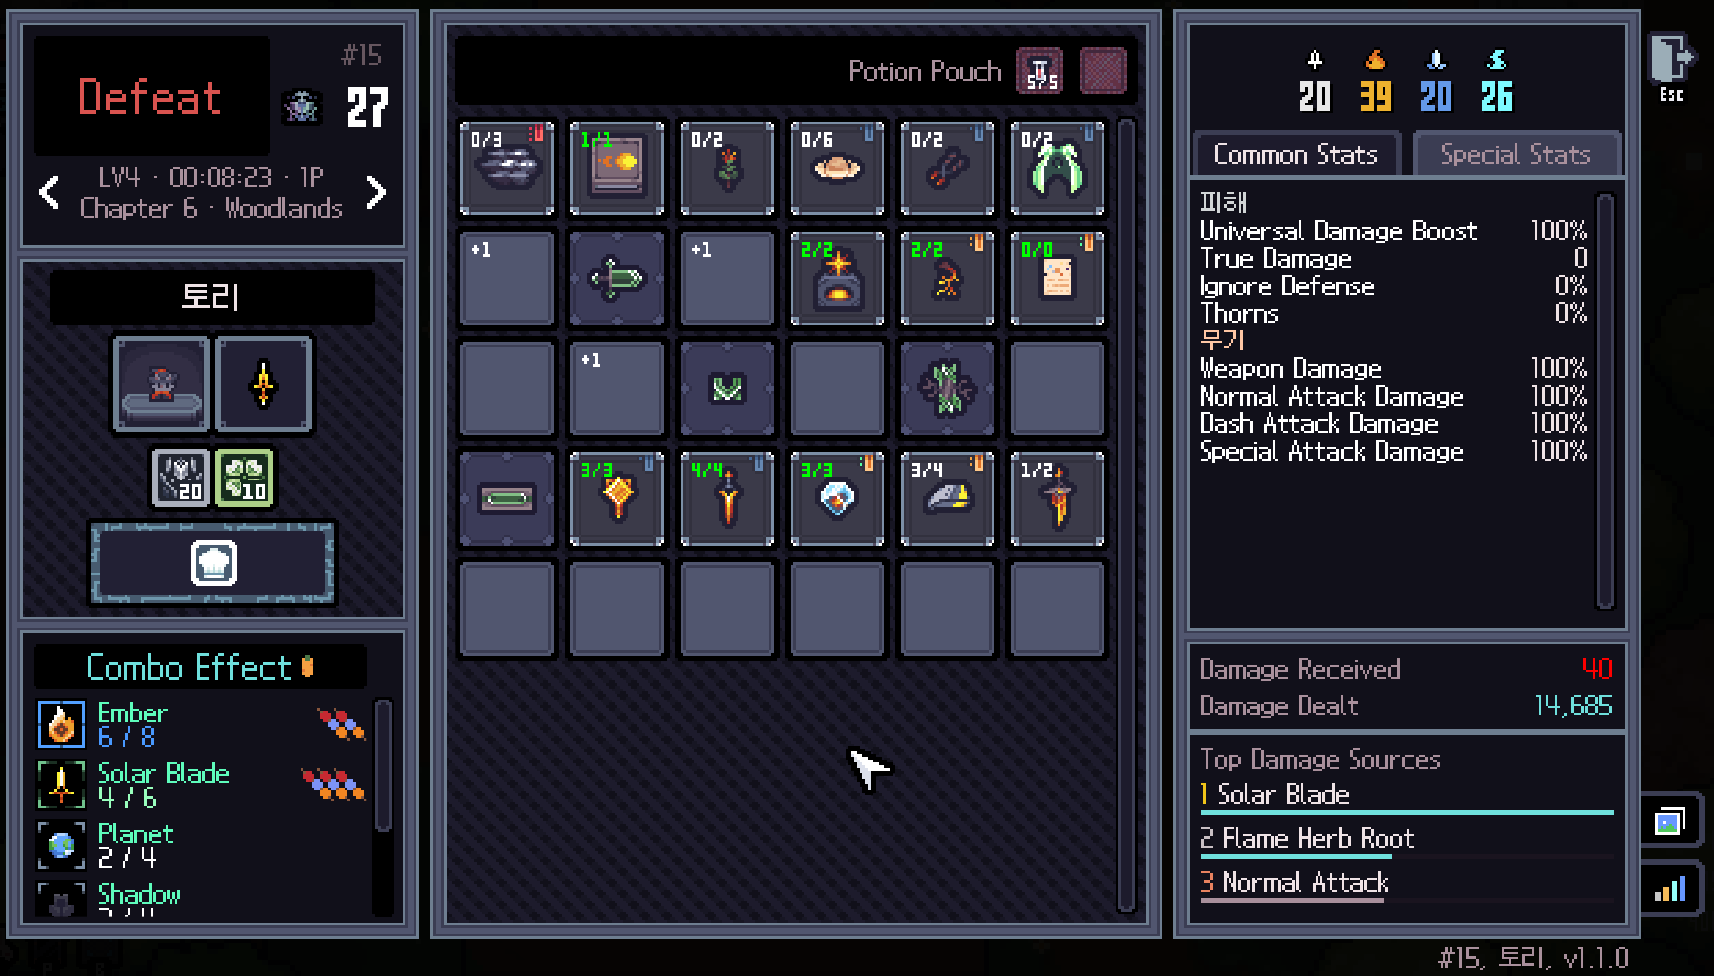
Choose a run by its outcome and chapter. In the developer’s example, the left panel identifies a solo Chapter 6 defeat and the time played. The middle shows the inventory and the right side shows stats and the leading damage sources. The record’s game version appears at the bottom of the screen.
For a Solar Blade run, start with the combo list and the damage panel, then trace back to the items and their positions on the board. Solar Blade leads the damage list in the example, but the run ended in defeat. If a run ended early, check where it stopped and what happened there before spending your next run’s scarce slots on additional damage.
TEAM HORAY · 1.1.0 Beta Update
03Save a result and use it to improve your next build
Open the run and choose the picture icon on the right of the result screen. Keep a copy of the whole image so the outcome, board and version stay together. When you send it to another player, add the weapon and upgrade, difficulty and active modifiers, and a short note on where the setup worked or struggled.
To compare two attempts, pick the same weapon, chapter and difficulty where possible. Start with one question, such as whether moving a key Artifact into a stronger Tablet cell made it easier to finish the same encounter. If the two runs used different drops or lasted very different lengths of time, compare the outcomes and use the Training Grounds for a controlled check of the specific interaction.
Keep successful and failed attempts. A failed run shows where a promising setup stopped working, while repeated success across similar attempts tells you more about reliability than one large damage total.